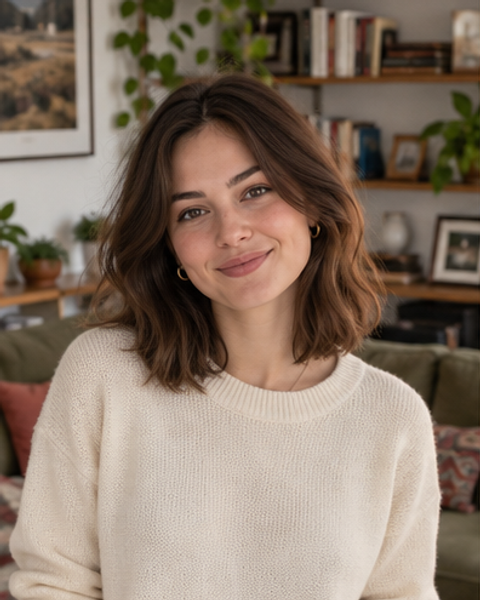
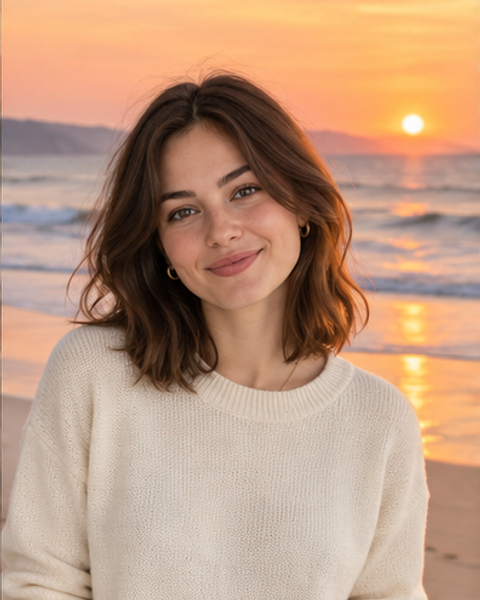
Change the Background
Prompt used
"Replace the background with a sunset beach, keep the person, pose and clothing unchanged."
Free · No signup · No watermark
Start from a photo instead of a blank canvas. Upload what you have, describe only what should change, and get back a full-resolution file that keeps the framing, pose and layout you already liked.
Max 10MB per file
Configure parameters and click Generate
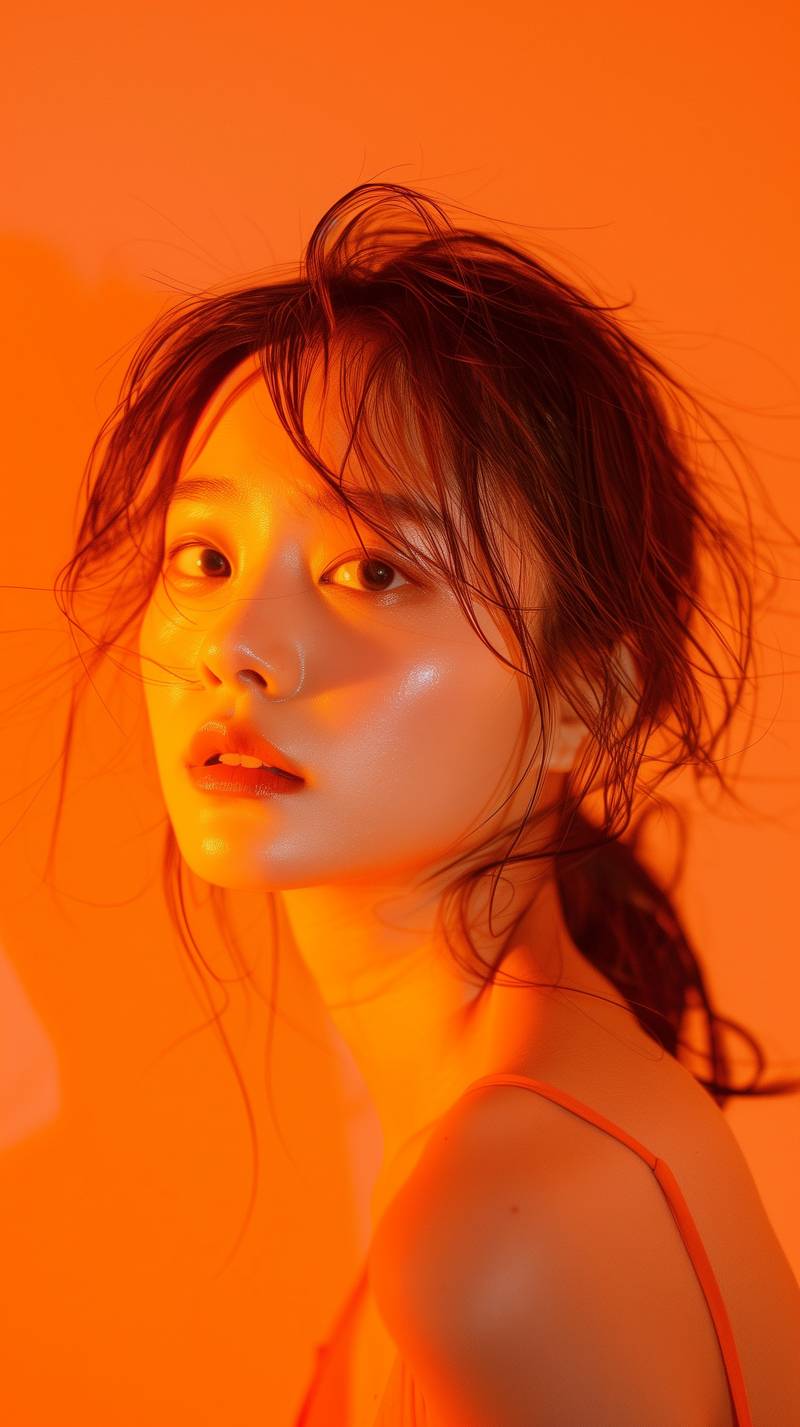
Transform a reference image into a polished alternate style while preserving the subject.
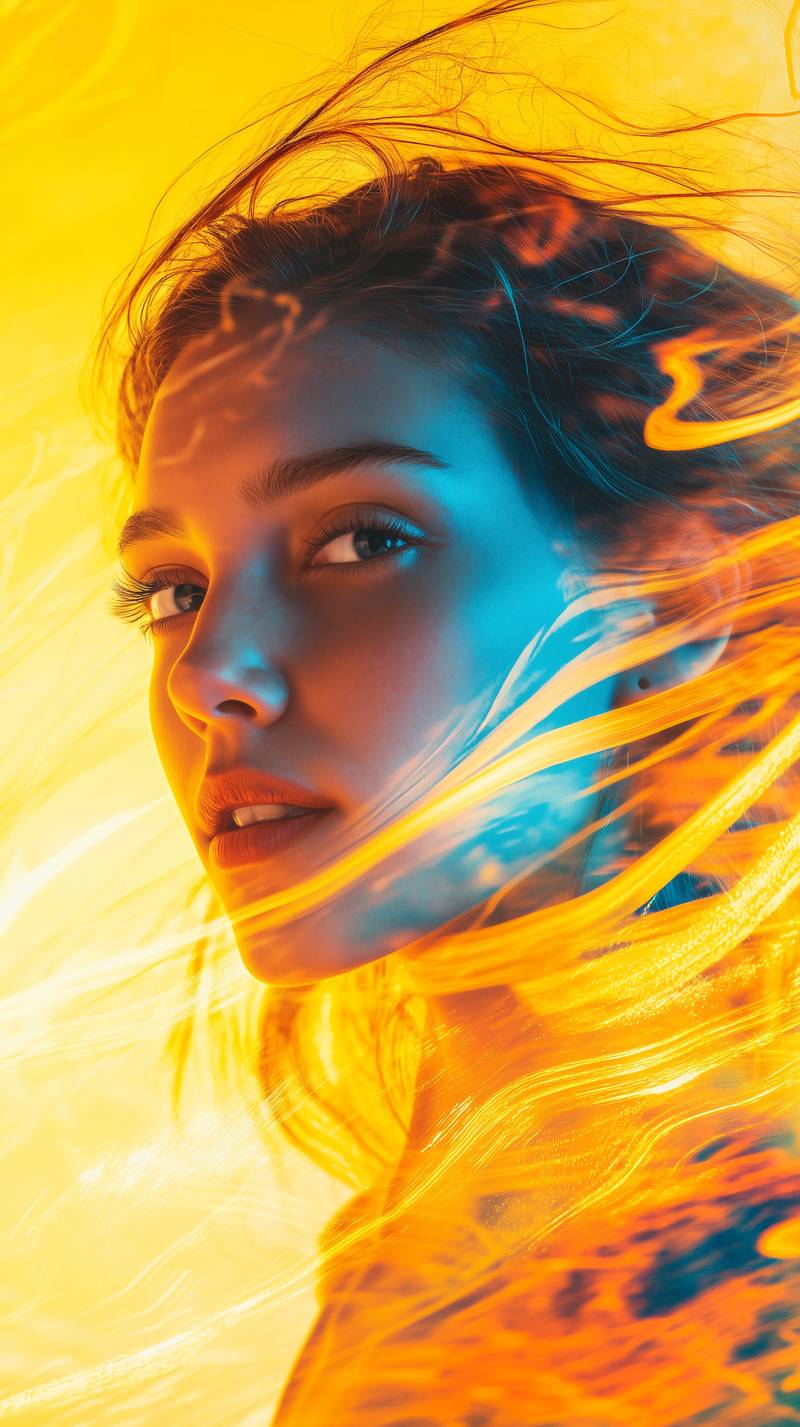
Enhance a source image with richer lighting, color, and cinematic detail.
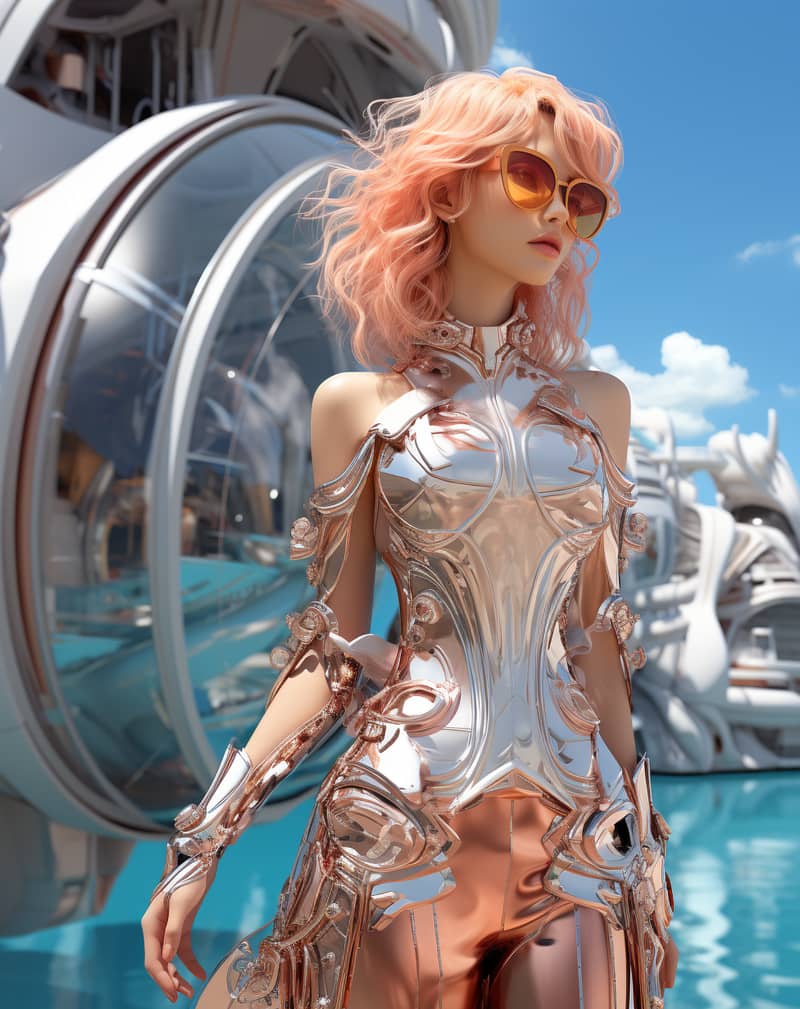
Create a strong visual variation from an input image and editing prompt.
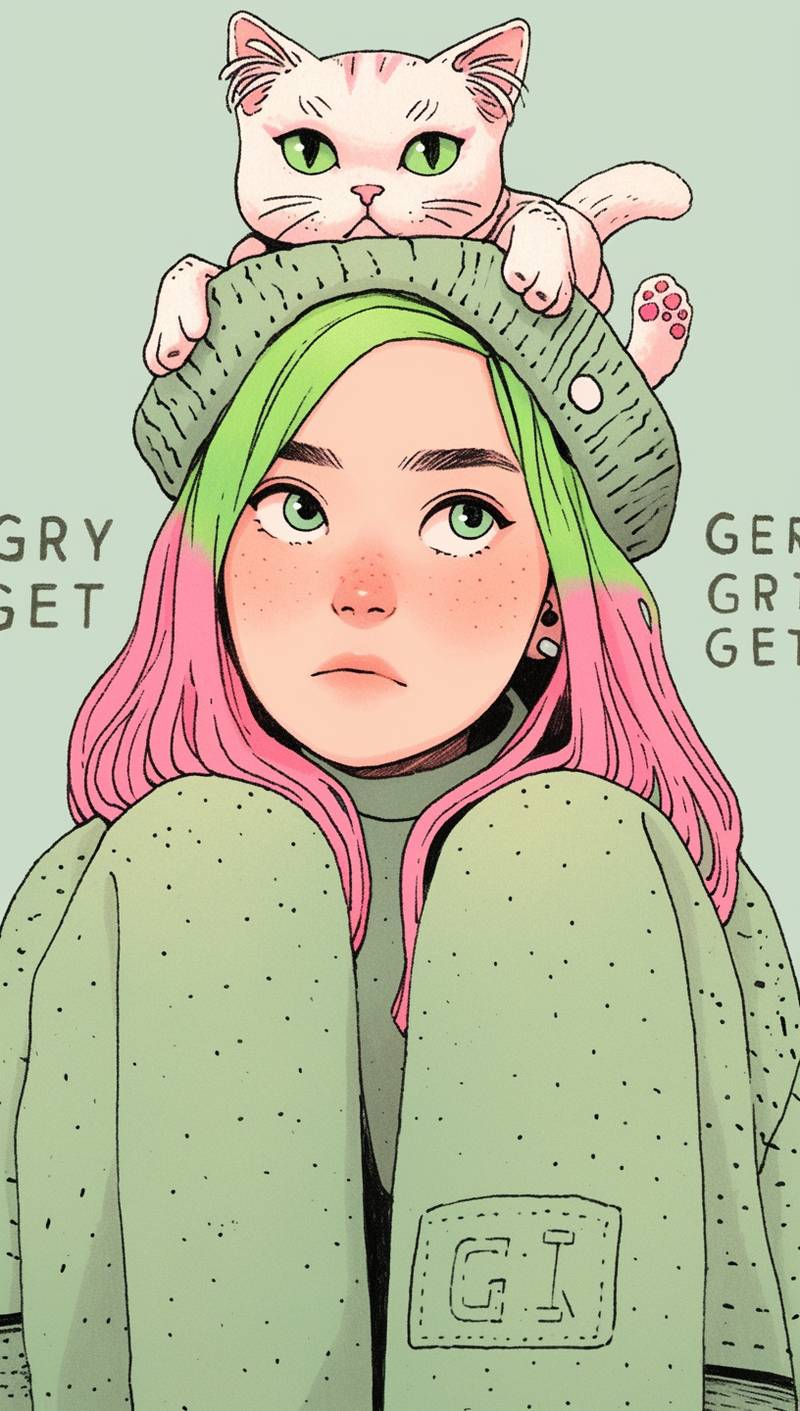
Restyle a vertical portrait into a sharper illustrative direction while keeping character identity.
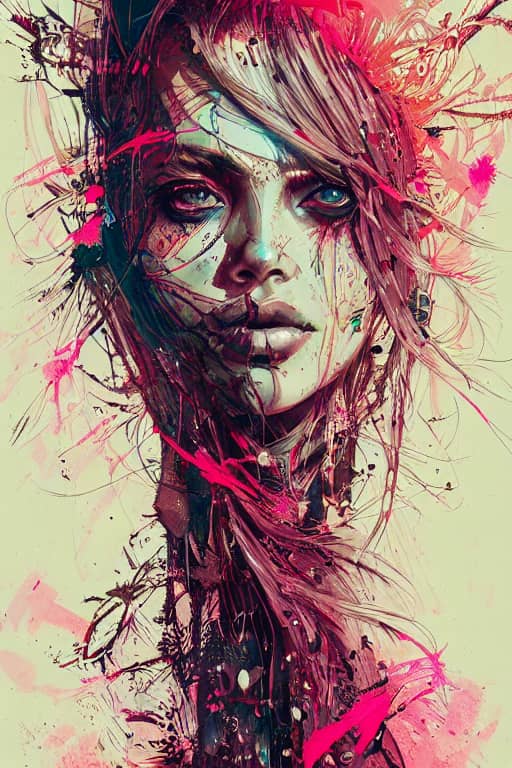
Transform a character reference into a detailed fantasy key visual.
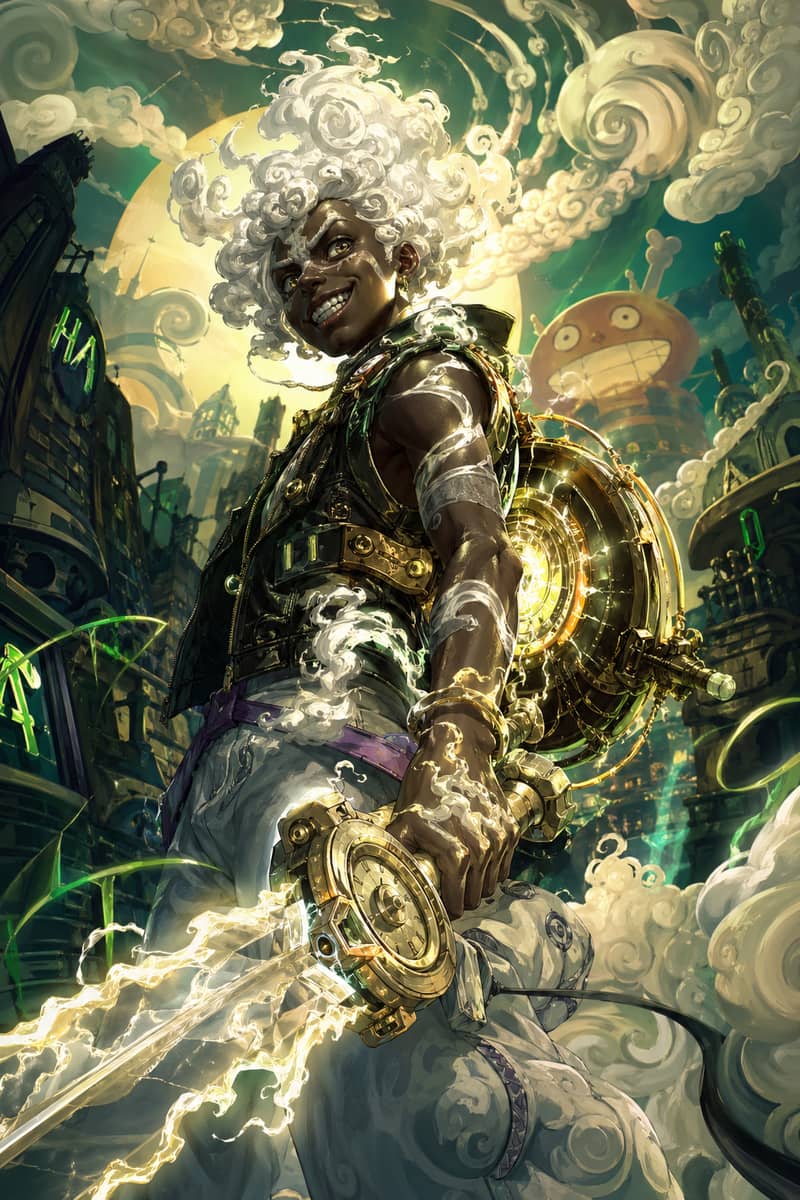
Turn a character reference into a glowing mythic hero portrait with cloud-like energy.
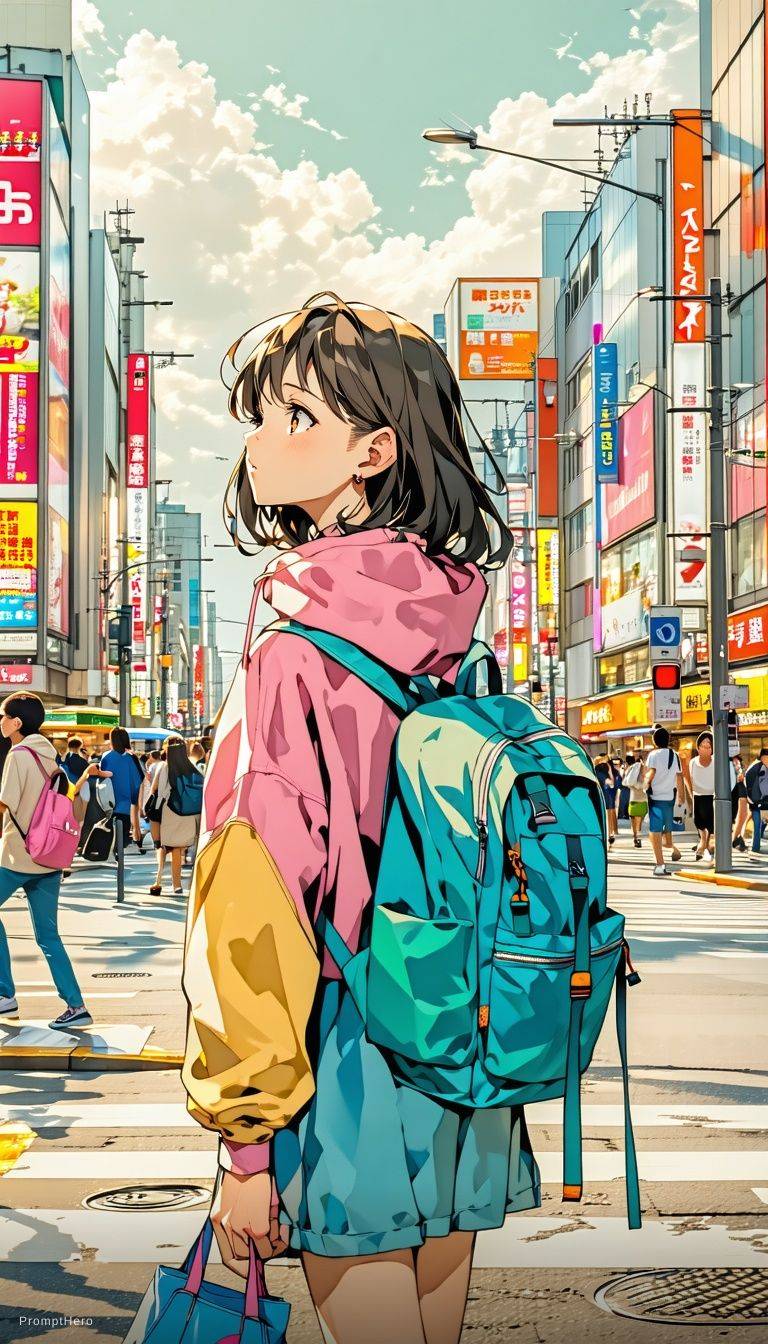
Transform a reference into a cinematic anime frame with expressive lighting and bloom.
Image to image AI takes a picture you already have and rebuilds it around a new instruction. You upload the source, describe what should change, and the model generates a fresh render that follows the composition, subject placement and framing of the original instead of starting from nothing.
The difference from text to image is where the constraint comes from. Text to image begins with words alone, so every render is a fresh roll of the dice on layout. Image to image begins with a visual you have already approved, which means the thing you liked about the original — the pose, the crop, the arrangement of objects — is the part that survives.
That makes it the right tool whenever you have a direction and want to change one aspect of it: a product shot that needs a different background, a portrait that needs different light, a sketch that needs to become a finished render. It is the wrong tool when you have no starting image at all, in which case text to image is where to begin.
People arrive at this looking for different words — ai image to image, image from image, an ai image generator from an existing image, restyling, remixing, or the older img2img label from the open-source tools. They all describe the same workflow.
| Feature | Image to image | Text to image |
|---|---|---|
| Starting point | A photo you upload | Words only |
| Composition | Preserved from the source | New every time |
| Best for | Changing one aspect of something that works | Exploring an idea from scratch |
| Iteration | Predictable — the frame stays put | Each run can look completely different |
Change strength is the parameter that separates image to image from every other kind of generation, and it is where most failed renders come from. It controls how far the model is allowed to move away from your source. Low strength barely touches the original; high strength treats it as loose inspiration.
Almost every complaint about image to image traces back to this one dial being in the wrong place. "It changed my subject's face" usually means the strength was too high for the job. "Nothing happened" usually means it was too low for the instruction. The prompt is rarely the problem.
Colour grading, relighting, small repairs, removing a distraction
Faces, text, fine detail and exact geometry stay intact
Background swaps, outfit and material changes, seasonal edits, product scene changes
Pose and layout hold; small details may shift
Full style transfer, sketch to finished render, turning a photo into an illustration
Composition survives; specific likeness and small text usually do not
Tip: When a result is close but not right, change the strength before you rewrite the prompt. It is the faster fix and it costs one render to test.
Eight jobs that account for most of the traffic through this tool. Each one has a prompt pattern that works — steal them.
Turn a photograph into anime, watercolour, oil painting, a 3D render, pixel art or vintage film. This is the highest-volume use of image to image by a wide margin, and it wants high change strength — you are asking for a different visual language, not a tweak.
"Convert to anime style with clean linework and vibrant colour, keep the composition and pose"
Put an existing subject somewhere else — a studio backdrop, an outdoor scene, a different season. The instruction that matters is the second half: telling the model explicitly to leave the subject alone is what stops it redesigning the person along with the room.
"Replace the background with a sunlit café interior, keep the subject and their pose exactly as they are"
One product photo becomes a season's worth of listings and ads: different surfaces, different lighting, different scenes, same product. This is the use with the clearest commercial payback, because the alternative is booking a photographer again.
"Place the product on a marble surface with soft window light and a neutral background, keep the product unchanged"
Change a garment's colour, fabric or cut while the person and the framing stay put. Works for lookbooks, styling variants and any case where reshooting the same model in different clothes is not practical.
"Change the jacket to brown leather, keep the face, hair and pose identical"
Feed in a pencil sketch, a wireframe or a rough mockup and get back something presentable. The layout you drew is the point — it survives while the rendering quality changes completely. This one needs the highest strength setting of anything on this list.
"Turn this sketch into a photorealistic render with studio lighting, follow the drawn layout exactly"
Move a photo from midday to golden hour, add moody shadows, warm it up or cool it down. Keep the strength low here — you want the same photograph under different light, not a different photograph.
"Relight as late afternoon side light through a window, warm tones, everything else unchanged"
Repair scratches, fading and damage on an old scan, or add natural colour to a black and white photograph. Low strength is essential: the goal is recovering what was there, not inventing a new face for someone's grandmother.
"Repair scratches and fading, restore natural skin tones, preserve every original facial detail"
A stray object, a passer-by, a sign you do not have rights to. Describe what should be gone and what should fill the space, and keep the strength low so the rest of the frame does not shift around the edit.
"Remove the parked car on the left and continue the pavement naturally, leave the rest of the scene untouched"
"Replace the background with a sunset beach, keep the person, pose and clothing unchanged."
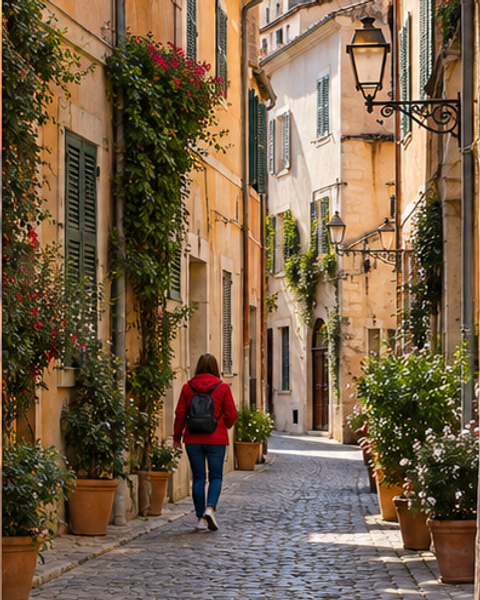
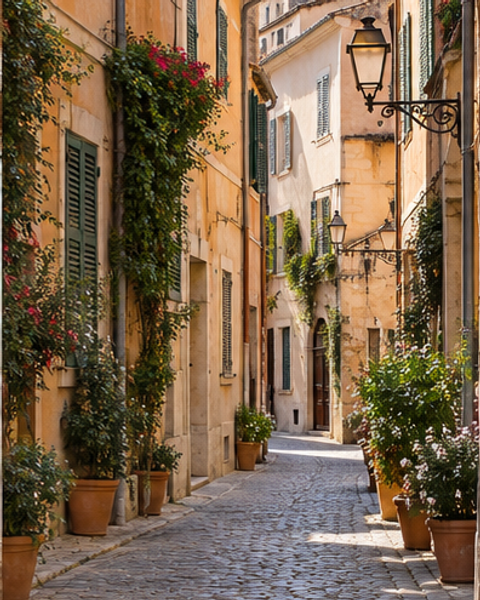
"Remove the person walking in the background on the left and fill the area with the matching street."
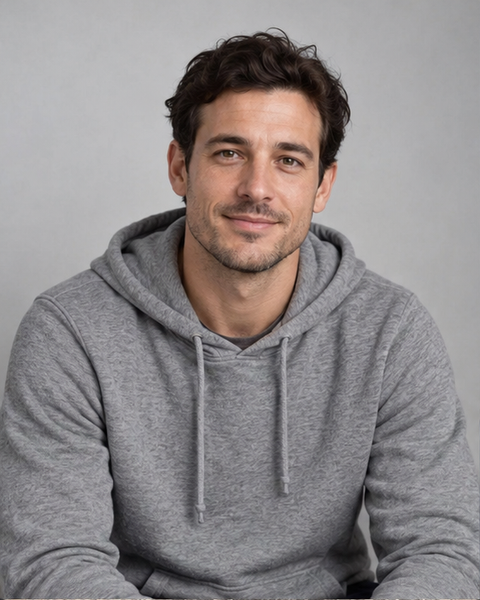
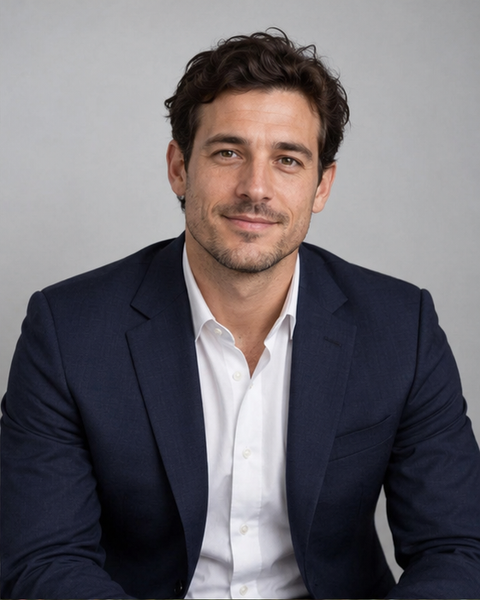
"Change the grey hoodie to a tailored navy blazer over a white shirt, keep the face and pose identical."
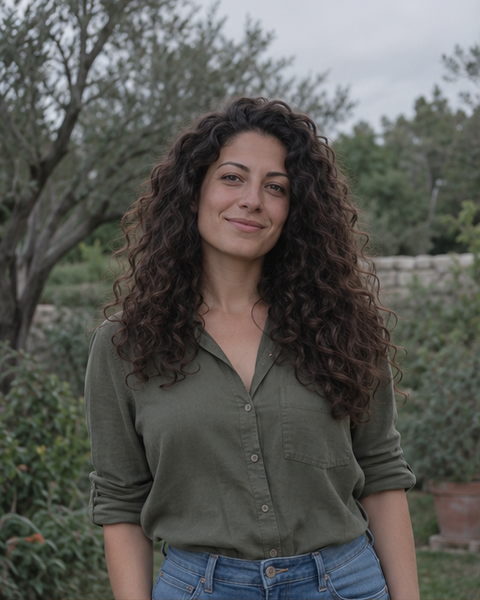
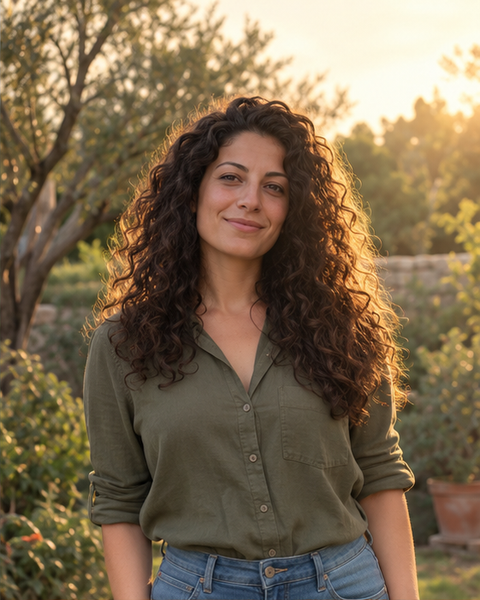
"Relight the scene as warm golden hour sunlight coming from the right, with soft long shadows."
A clean, well-lit source gives you far more control than a blurry one. Whatever is unclear in the original will be unclear, or invented, in the result.
Write the difference, not the whole scene. "Make the wall dark green" works better than re-describing the entire room with one detail altered — and it tells the model exactly what to leave alone.
Subtle for repairs and lighting, balanced for backgrounds and outfits, reimagine for full style transfers. This matters more than any other setting.
Use the compare view against the original. If it is close, change the strength or one clause of the prompt — not both — so you know which one was responsible.
Every tool in this category advertises what it can do. These are the failures you will actually run into, and what to do about each one.
Identity is the first thing to go when you push the strength up. If you need someone to stay recognisably themselves through a heavy restyle, that is a genuine limit rather than a prompting problem.
Lower the strength, and say "keep the face identical" explicitly in the prompt.
Any writing in your original — signage, packaging, a logo — will usually come back distorted, because the model is regenerating those pixels rather than copying them.
Keep strength low, or crop the text out and add it back in a normal editor afterwards.
Jewellery, hands, patterned fabric, background lettering and anything fine tend to change even when you did not ask. The model rebuilds the whole frame, not just the part you mentioned.
Saying it helps and is worth including, but image to image regenerates the entire image. Pixel-perfect preservation of untouched areas is not what this technique does.
For a genuinely surgical edit, do the change here and composite the result over the original in an editor.
Low resolution, heavy compression artefacts and motion blur all carry through. Image to image reinterprets what it can see; it does not recover information that was never captured.
Most tools that advertise image to image ai free mean a trial counter, a stamped corner, or a resolution cap that makes the output useless for anything real. Here the free tier returns clean, full-resolution files with nothing added to them.
That matters more for image to image than for anything else, because the output usually replaces a photo you were going to use. A watermarked restyle of your own product shot is not a preview — it is a wasted render.
You can start without an account. Free credits refresh daily, and paid plans add volume rather than quality — the same engine serves every tier.
Free results come back unbranded and print-ready.
The free tier serves the same file sizes paid plans do.
Upload and transform without creating an account.
Use results in client work, listings and advertising.
It is a workflow where an existing photo guides the output. You upload a source image and describe a change, and the model generates a new image that follows the original's composition, subject placement and framing while applying your instruction.
Yes. Free daily credits cover image to image, and results come back at full resolution with no watermark. Paid plans add volume, batch generation and shorter queues — not better output.
No. You can upload a photo and transform it without creating an account. Signing in only matters if you want your history saved or higher daily limits.
Text to image starts from words alone, so the layout changes with every run. Image to image starts from a picture you have already approved, so the composition and framing carry over and only what you asked about changes.
Lower the change strength and say so explicitly in the prompt — "keep the face identical". Identity is the first thing that drifts as strength increases, so a heavy full-body restyle and a perfectly preserved likeness pull against each other.
Image to image regenerates the whole frame rather than editing a region, so untouched areas get rebuilt too. Lowering the strength reduces the drift. For a truly surgical change, transform here and then composite the result over your original in an editor.
Yes, and the instruction that makes it work is the second half of the sentence. Describe the new background, then explicitly tell the model to keep the subject and pose unchanged. Use balanced strength — high strength will redesign the person along with the room.
Yes. Style transfer is the most common use of image to image. Use the reimagine strength setting, since you are asking for a different visual language rather than an adjustment, and name the style plainly — anime, watercolour, oil painting, 3D render, vintage film.
Yes. Upload the sketch, describe the finished look you want, and use the highest strength setting. The layout you drew is what carries through; the rendering quality is what changes.
JPG, PNG and WebP up to 10MB. A clean, sharp, well-lit source gives noticeably more controllable results than a compressed or blurry one.
Yes, on every tier including free — client work, products, listings and advertising — provided your source material and prompt do not infringe someone else's rights. That last part matters here: you need the rights to the photo you upload.
Yes. Any result can be sent straight into image to video to become a short clip, without downloading and re-uploading it.
Yes — img2img is the label used in the open-source tools, and change strength is what those interfaces call denoising strength. Same idea, same trade-off between staying close to the source and reinventing it.
One photo, one sentence describing the change. Free, full resolution, no watermark, no account.
Start with a photoYou are responsible for holding the rights to any image you upload. Product names and trademarks mentioned are the property of their respective owners. Imagine Image is an independent tool and is not affiliated with, endorsed by, or sponsored by xAI, OpenAI, or Google.